Neon Slime Kit

Make sure to add the glow in the dark color powder to the glue and mix well BEFORE you add the activator water. This will help to make sure the powder gets mixed in evenly and will ensure the entire slime is bright and glowing!
Ensure you follow the exact measurements given in the instruction manual and mix the glow in the dark powder with the glue before adding the activator water. The slime needs to be charged with light in order for it to glow as bright as possible – this is why we have given you a super handy mini UV torch. The most important thing is to make sure you are in a dark room so you can see amazing results!
Slime can get too hard and rubbery and lose its stretch if too much activator water is added. Ensure you follow the instructions accurately for the stretchiest slime! When making slime, you need to give it some time for all the ingredients to mix properly. It helps to play with the slime for at least a few minutes so the warmth from your hands softens it and gives a great stretch.
Sometimes if you get the ratio of glue and activator water a little bit wrong then your slime can be a little bit wet and sticky. There are a couple of simple things you can do to fix this:
- The slime must be kneaded really well for at least 5 minutes. A good method for kneading is to squash, stretch and fold the slime and knead it between your thumb and fingers. As long as you have used the correct amounts of glue and activator as directed, you will notice that after 5 minutes of this kneading method, that the slime will begin to form and lose its stickiness.
- If after kneading your slime really well, it is still wet and sticky, try adding 2 or 3 small drops (not squirts) of activator and repeat the kneading process. Repeat this process of adding 2 small drops of activator water until the slime has lost all stickiness but it is still soft and stretchy. If you add too much activator, then your slime can turn too hard, so be careful not to add too much.
- If after adding some of the clay to your slime, to make a butter slime, it becomes sticky again, try adding another 1 or 2 drops of activator water to fix the sticky feeling.
It’s difficult to revive a dead slime. The best thing to do is start again and have loads more fun making new slime. Remember to keep your slime in the containers provided to make sure it lasts a long time.
- Always add colors and scents with the glue and stir before you add the activator to the mixture to ensure everything is distributed equally.
- NEVER use too much activator at once. Only use very small quantities at a time and then stir for 30 seconds each time to ensure you don’t make your slime too hard. Slime making requires patience and determination!
- Have fun and experiment with your slime recipes! Bring out your inner scientist and enjoy the process!

Galaxy Slime Kit
Make sure to add the color BEFORE you add activator water. This will help to make sure the color gets mixed in correctly, if you need it to be brighter, you can always add a little more.
To ensure your galaxy slime is super stretchy you need to lay it in your hands for at least 5 minutes. We recommend kneading it between your fingers and thumbs really well to get rid of any air bubbles and tightness, then stretch it out and fold it back in on itself. Do this repeatedly for 5 minutes and eventually your slime will become super stretchy.
Sometimes if you get the ratio of glue and activator water a little bit wrong then your slime can be a little bit wet and sticky. There are a couple of simple things you can do to fix this:
- The slime must be kneaded really well for at least 5 minutes. A good method for kneading is to squash, stretch and fold the slime and knead it between your thumb and fingers. As long as you have used the correct amounts of glue and activator as directed, you will notice that after 5 minutes of this kneading method, that the slime will begin to form and lose its stickiness.
- If after kneading your slime really well, it is still wet and sticky, try adding 2 or 3 small drops (not squirts) of activator and repeat the kneading process. Repeat this process of adding 2 small drops of activator water until the slime has lost all stickiness but it is still soft and stretchy. If you add too much activator, then your slime can turn too hard, so be careful not to add too much.
- If after adding some of the clay to your slime, to make a butter slime, it becomes sticky again, try adding another 1 or 2 drops of activator water to fix the sticky feeling.
It’s difficult to revive a dead slime. The best thing to do is start again and have loads more fun making new slime. Remember to keep your slime in the containers provided to make sure it lasts a long time.
- Always add colors and scents with the glue and stir before you add the activator to the mixture to ensure everything is distributed equally.
- NEVER use too much activator at once. Only use very small quantities at a time and then stir for 30 seconds each time to ensure you don’t make your slime too hard. Slime making requires patience and determination!
- Have fun and experiment with your slime recipes! Bring out your inner scientist and enjoy the process!

Ice Cream Slime Kit
Ok, so you want to learn how to get the perfect little pile of swirled slime to make your fluffy slime look exactly like soft serve ice cream?
It takes practice but here are some handy tips to achieving the perfect slime swirl.
The key to making the perfect swirl is to play with your slime and get it really long and stretchy so fine lines form in the slime. A good technique for you to follow is:
and stretch it out as far as it will go at arms length.
Then fold it by bringing your hands back together.
Stretch it out again and fold it.
Keep repeating the process for about 1 minute.
When your slime is super long and fine lines have formed in it, stick one end of the slime to a clean surface and slowly let the rest of the slime drop down into a swirled shape like a meringue.
Get a friend to do a close up video of your swirl to see how it looks on film!
Tip! For amazing stretch and super defined lines in the slime, we always advise adding some clay to your slime.
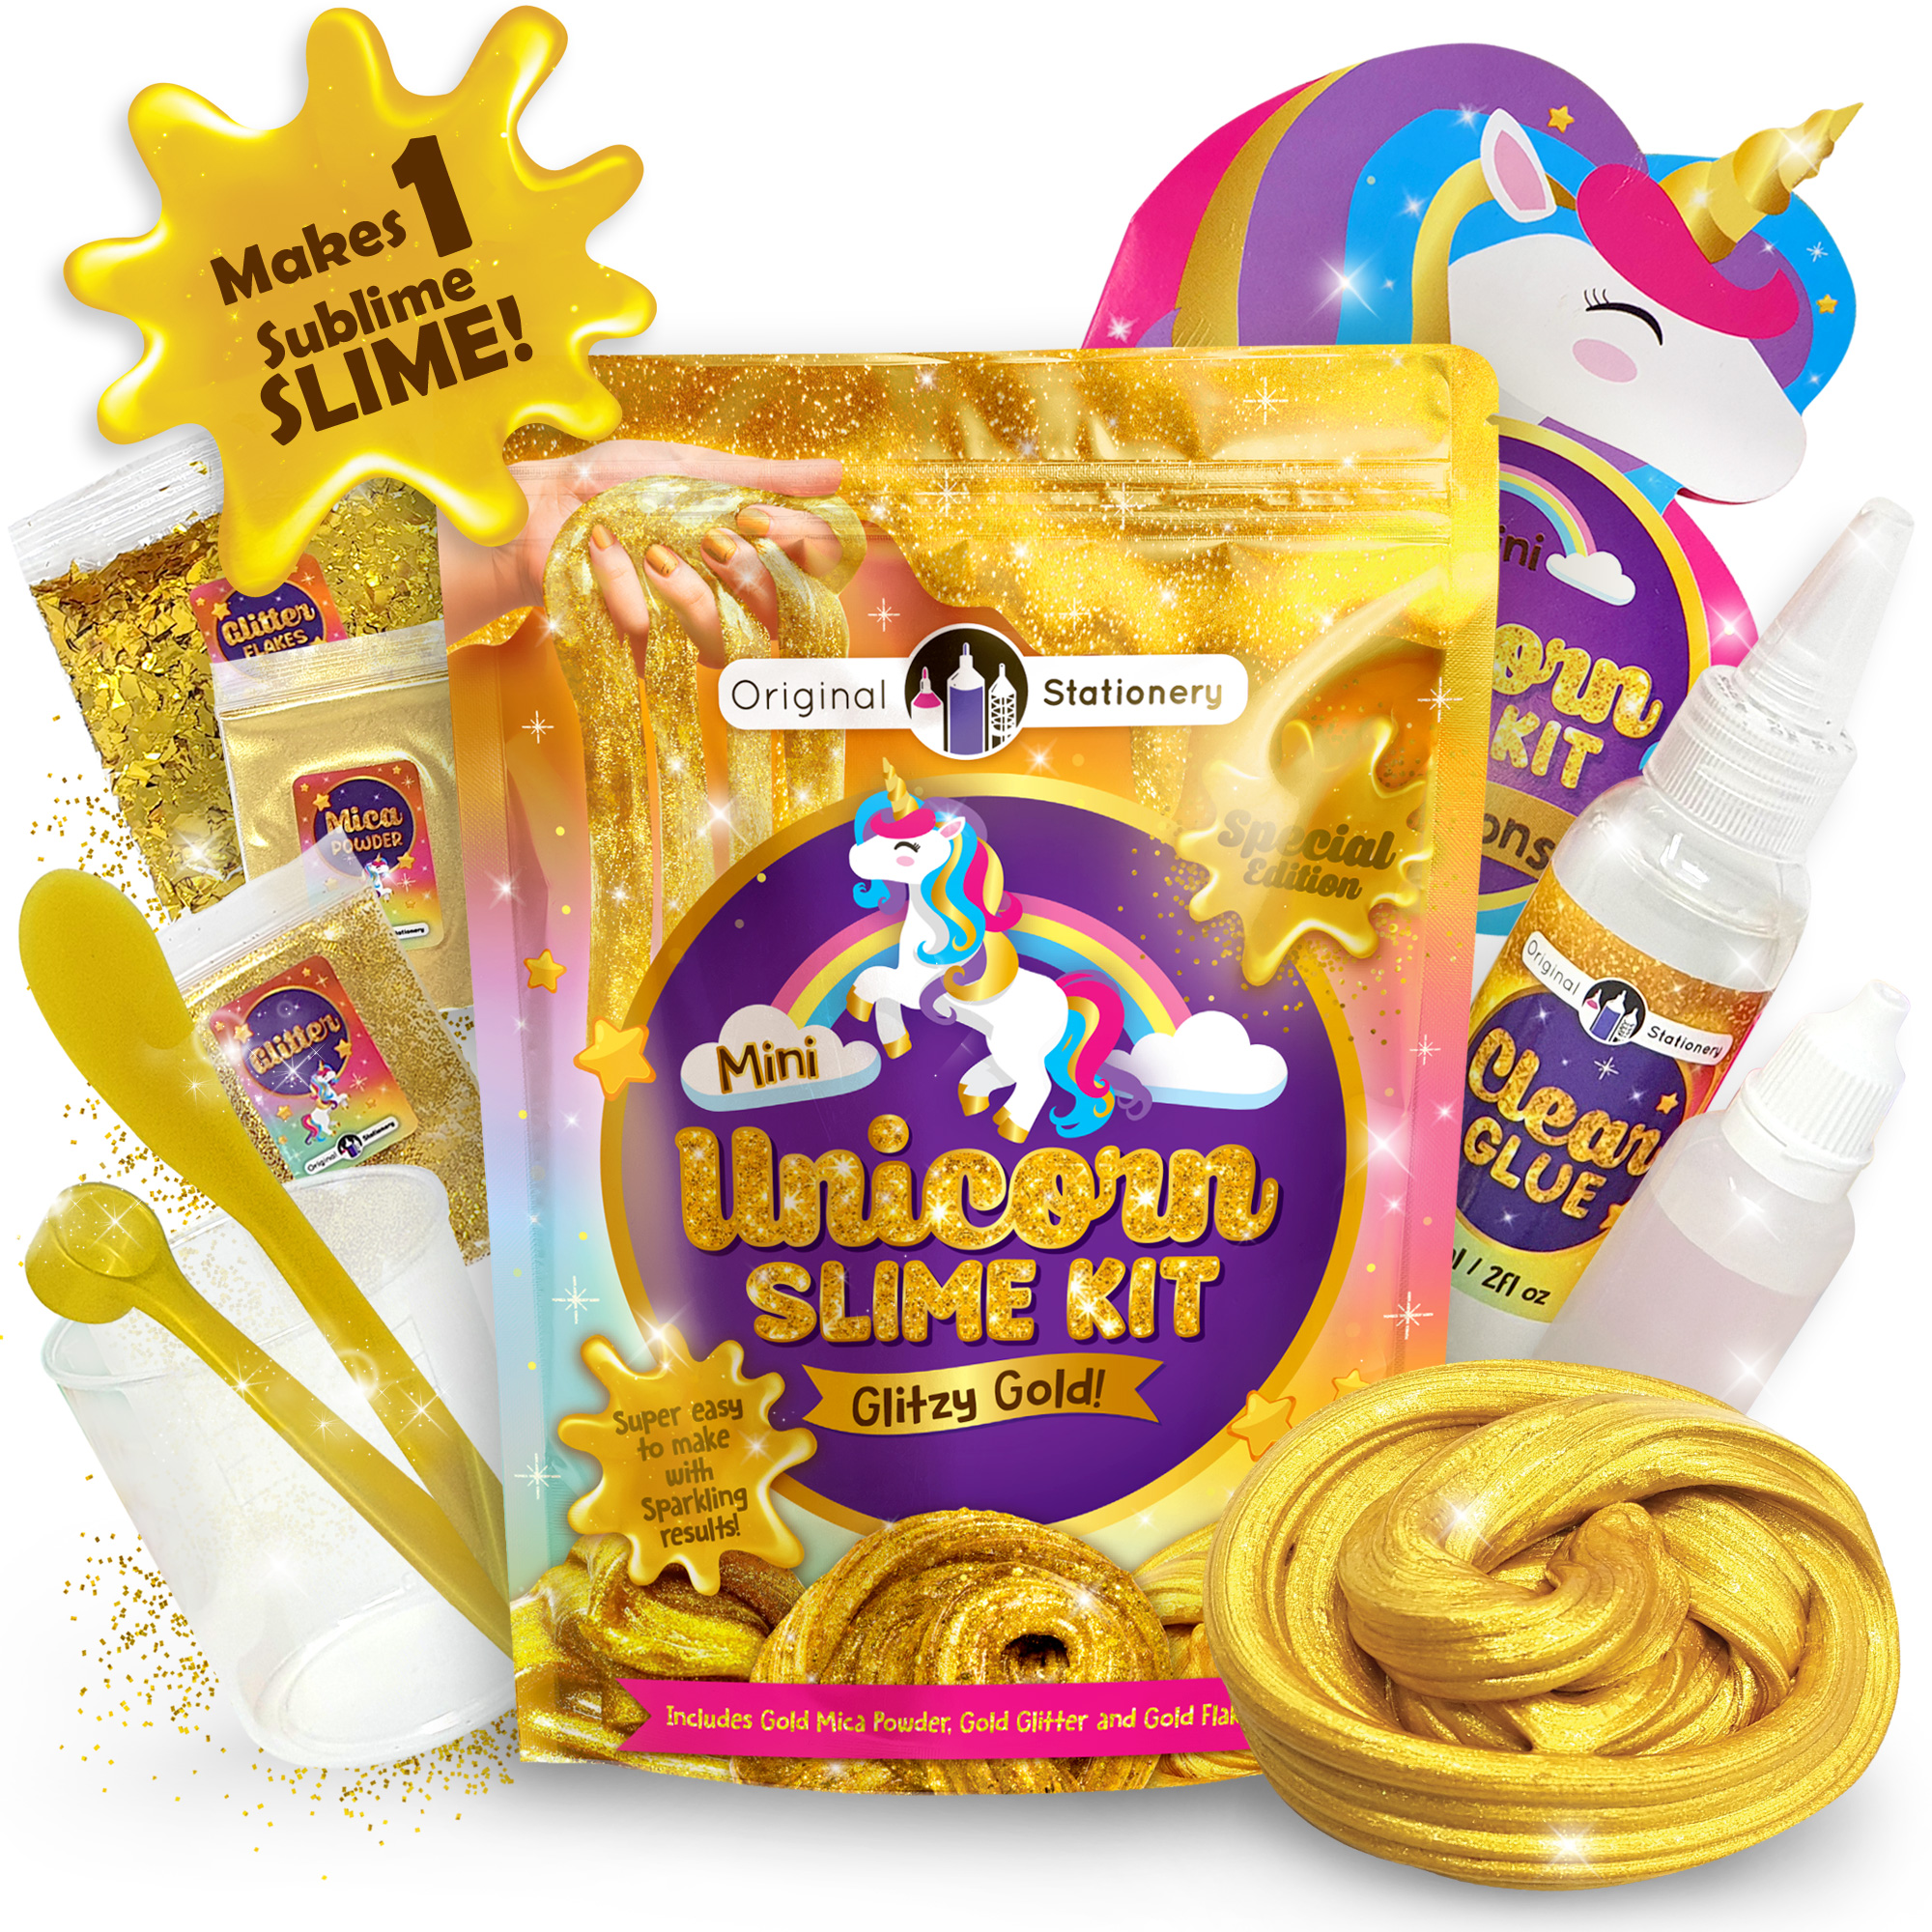
Mini Gold Slime DIY kit
- Pour the entire bottle of glue from your kit into the measuring cup.
- Add the bag of gold glitter, gold mica powder and gold glitter flakes to the glue and mix everything together.
- Then add 3 level spoonfuls of activator using the measuring spoon from your kit..Remember to give the activator liquid a good shake first! (Tip! If the slime still appears too sticky, try adding another 1 or 2 small drops of activator liquid)
- Use your stirrer to give it all a good stir for 30 seconds until slime begins to form. (You will know when you have the perfect consistency as it will become difficult to stir and all of the mixture will be stuck together.)
- Next (the messy, fun part)- Take the slime from the cup (don’t worry if it feels sticky – this is normal). Knead it continuously for 5 minutes until the stretchy golden slime has formed. Our recommended method for kneading would be to squash it, stretch it and fold it while kneading it really well between your thumb and fingers to push all of the air bubbles out.
You have created a sparkling golden Unicorn Slime!
Mermaid Slime Kit
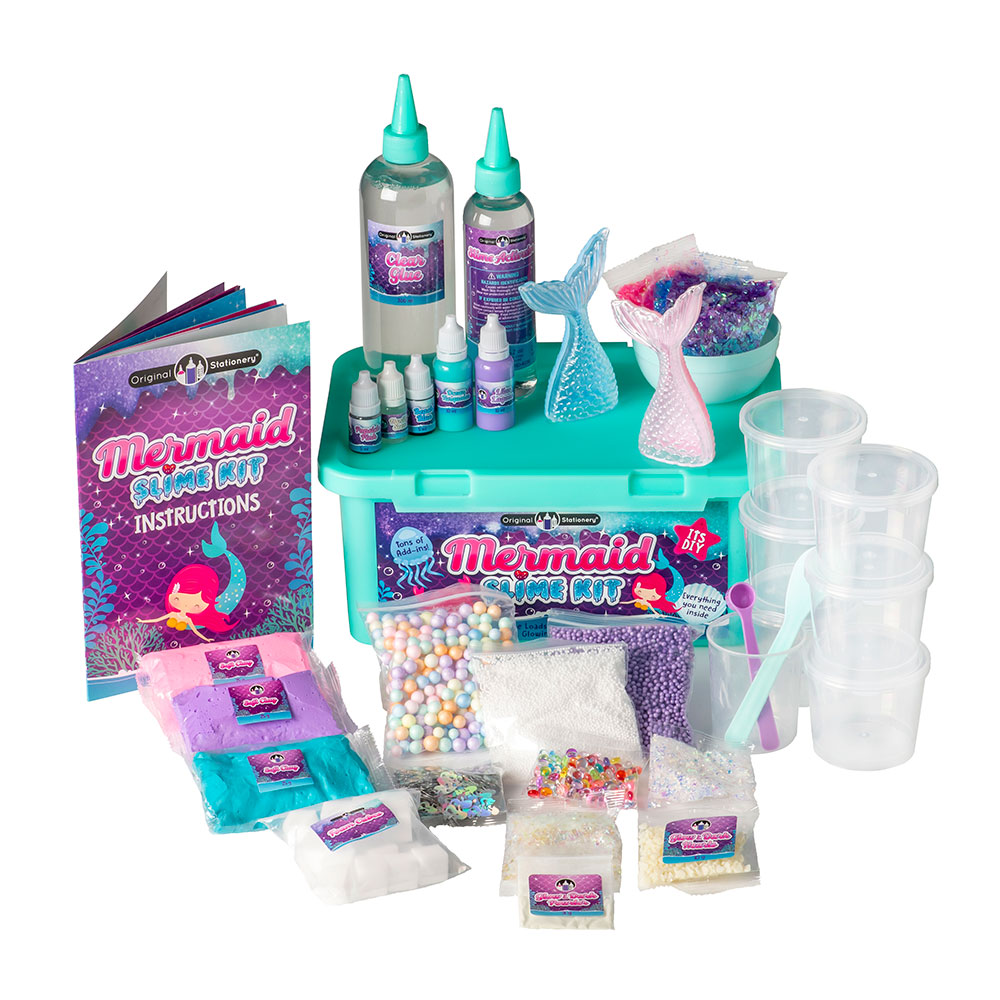
Make sure to add the color BEFORE you add the activator water. This will help you to make sure the color gets mixed in correctly. If you need it to be brighter, you can always add a little more.
To ensure your slime is super soft and stretchy it’s really important not to add too much activator, otherwise your slime will turn out too hard. Follow the instructions in the booklet carefully to make sure you have the stretchiest slime. It helps to knead your slime for at least 5 minutes. Also you could try adding some of the clay into your slime for at least 5 minutes. Also you could try adding some of the clay into your slime for added fluffiness and softness.
Sometimes if you get the ratio of glue to water a little bit wrong then your slime can be a little bit wet. There are three simple things you can do to fix this:
- The slime must be kneaded really well for at least 5 minutes. A good method for kneading is to squash, stretch and fold the slime and knead it between your thumb and fingers. As long as you have used the correct amounts of glue and activator as directed, you will notice that after 5 minutes of this kneading method, that the slime will begin to form and lose its stickiness.
- If after kneading your slime really well, it is still wet and sticky, try adding 2 or 3 small drops (not squirts) of activator and repeat the kneading process.
- Finally, you could try leaving the slime to dry for 2 to 4 hours. This is best if you have added too much water.
It’s difficult to revive a dead slime. The best thing to do is start again and have loads more fun making new slime. Remember to keep your slime in the containers provided to make sure it lasts a long time.
Sometimes slime needs to be worked with your hands a little bit before it turns into slime. So get stuck in and get messy! Keep trying and following our instructions you’ll be making perfect slime in no time.
- Always add colors and scents with the glue and stir before you add the activator to the mixture to ensure the liquids are distributed equally.
- NEVER use too much activator at once. Only use very small quantities at a time and then stir for 30 seconds each time to ensure you don’t make your slime too hard. Slime making requires patience and determination!
- Have fun and experiment with your slime recipes! Bring out your inner scientist and enjoy the process!
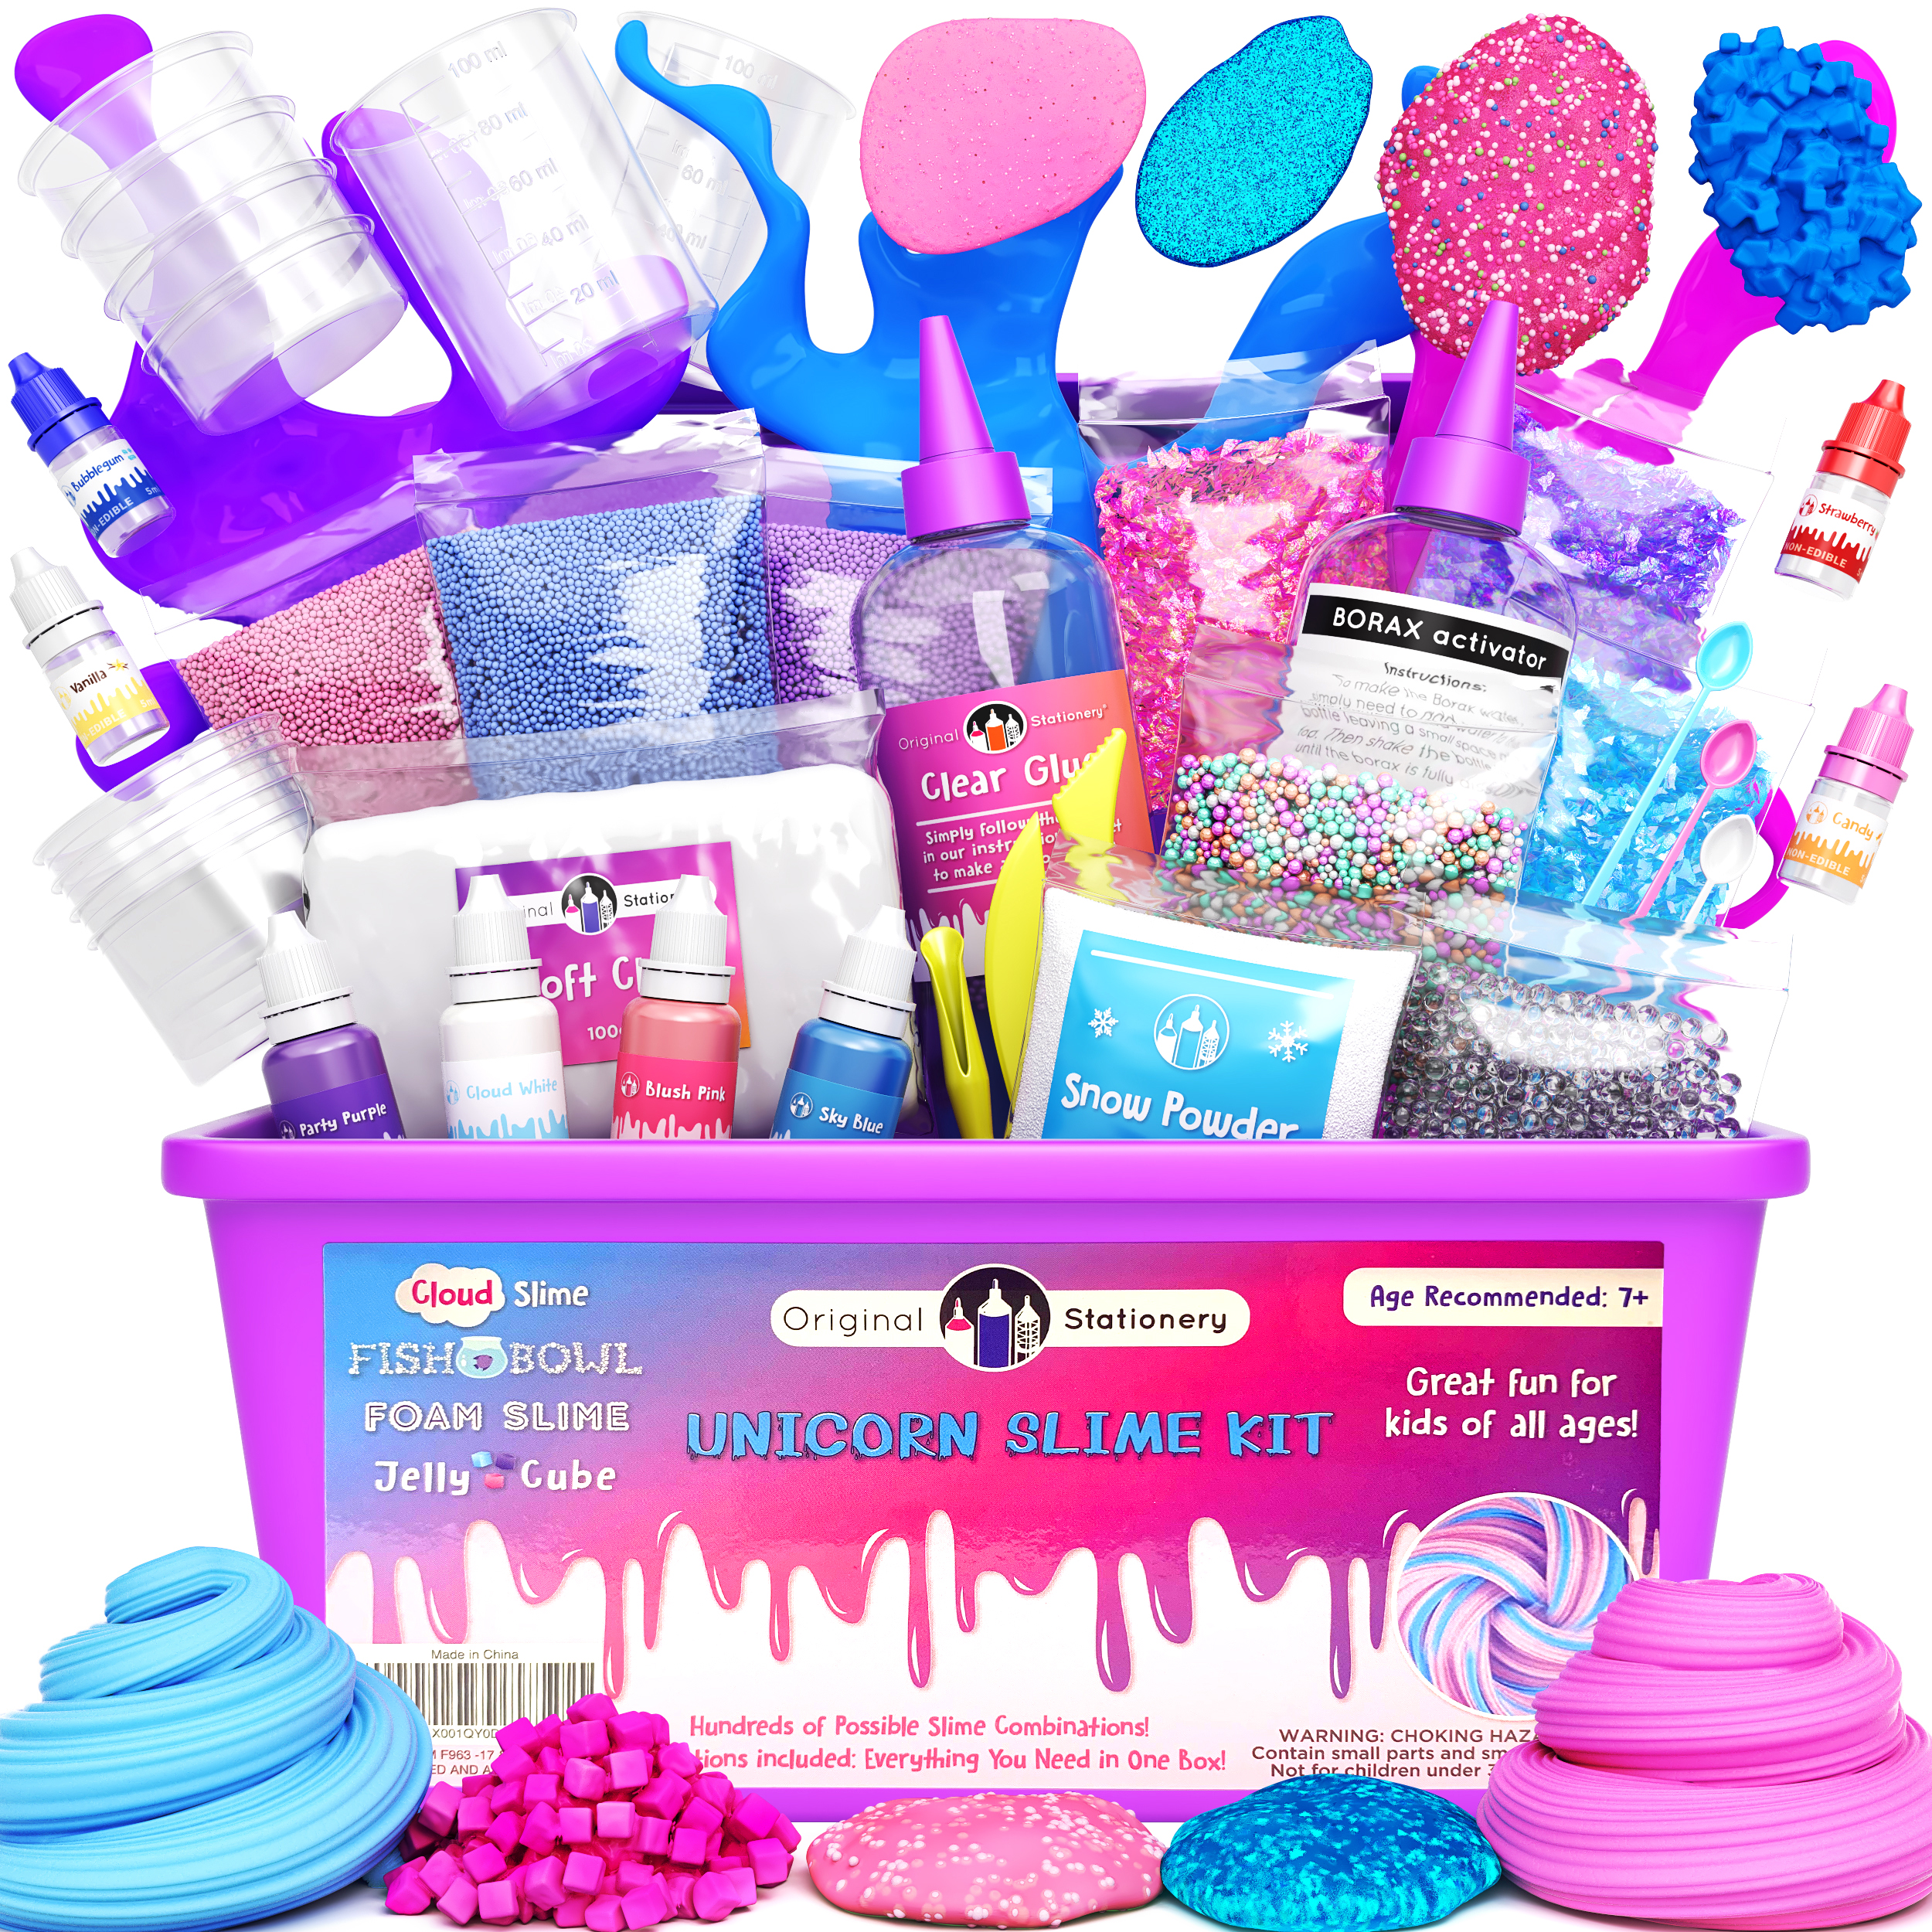
Unicorn Slime Kit
Make sure to add the color BEFORE you add the activator water. This will help you to make sure the color gets mixed in correctly. If you need it to be brighter, you can always add a little more.
To ensure your slime is super soft and stretchy it’s really important not to add too much activator, otherwise your slime will turn out too hard. Follow the instructions in the booklet carefully to make sure you have the stretchiest slime. It helps to knead your slime for at least 5 minutes. Also you could try adding some of the clay into your slime for at least 5 minutes. Also you could try adding some of the clay into your slime for added fluffiness and softness.
Sometimes if you get the ratio of glue to water a little bit wrong then your slime can be a little bit wet. There are three simple things you can do to fix this:
- The slime must be kneaded really well for at least 5 minutes. A good method for kneading is to squash, stretch and fold the slime and knead it between your thumb and fingers. As long as you have used the correct amounts of glue and activator as directed, you will notice that after 5 minutes of this kneading method, that the slime will begin to form and lose its stickiness.
- If after kneading your slime really well, it is still wet and sticky, try adding 2 or 3 small drops (not squirts) of activator and repeat the kneading process.
- Finally, you could try leaving the slime to dry for 2 to 4 hours. This is best if you have added too much water.
It’s difficult to revive a dead slime. The best thing to do is start again and have loads more fun making new slime. Remember to keep your slime in the containers provided to make sure it lasts a long time.
Sometimes slime needs to be worked with your hands a little bit before it turns into slime. So get stuck in and get messy! Keep trying and following our instructions you’ll be making perfect slime in no time.
- Always add colors and scents with the glue and stir before you add the activator to the mixture to ensure the liquids are distributed equally.
- NEVER use too much activator at once. Only use very small quantities at a time and then stir for 30 seconds each time to ensure you don’t make your slime too hard. Slime making requires patience and determination!
- Have fun and experiment with your slime recipes! Bring out your inner scientist and enjoy the process!
Sensations Slime Kit

Make sure to add the color BEFORE you add the activator water. This will help you to make sure the color gets mixed in correctly. If you need it to be brighter, you can always add a little more.
To ensure your slime is super soft and stretchy it’s really important not to add too much activator, otherwise your slime will turn out too hard. Follow the instructions in the booklet carefully to make sure you have the stretchiest slime. It helps to knead your slime for at least 5 minutes. Also you could try adding some of the clay into your slime for at least 5 minutes. Also you could try adding some of the clay into your slime for added fluffiness and softness.
Sometimes if you get the ratio of glue to water a little bit wrong then your slime can be a little bit wet. There are three simple things you can do to fix this:
- The slime must be kneaded really well for at least 5 minutes. A good method for kneading is to squash, stretch and fold the slime and knead it between your thumb and fingers. As long as you have used the correct amounts of glue and activator as directed, you will notice that after 5 minutes of this kneading method, that the slime will begin to form and lose its stickiness.
- If after kneading your slime really well, it is still wet and sticky, try adding 2 or 3 small drops (not squirts) of activator and repeat the kneading process.
- Finally, you could try leaving the slime to dry for 2 to 4 hours. This is best if you have added too much water.
It’s difficult to revive a dead slime. The best thing to do is start again and have loads more fun making new slime. Remember to keep your slime in the containers provided to make sure it lasts a long time.
Sometimes slime needs to be worked with your hands a little bit before it turns into slime. So get stuck in and get messy! Keep trying and following our instructions you’ll be making perfect slime in no time.
- Always add colors and scents with the glue and stir before you add the activator to the mixture to ensure the liquids are distributed equally.
- NEVER use too much activator at once. Only use very small quantities at a time and then stir for 30 seconds each time to ensure you don’t make your slime too hard. Slime making requires patience and determination!
- Have fun and experiment with your slime recipes! Bring out your inner scientist and enjoy the process!